
Before & After: Modern Zen Cottage on Cape Cod
A Stone Cottage Gets a Modern Update

At Alcōv, we want to help enable your home styling journey from inspiration to happy reality. Here we share a personal experience transforming a dated, top floor bedroom into a tranquil, modern, multi-functional studio space…
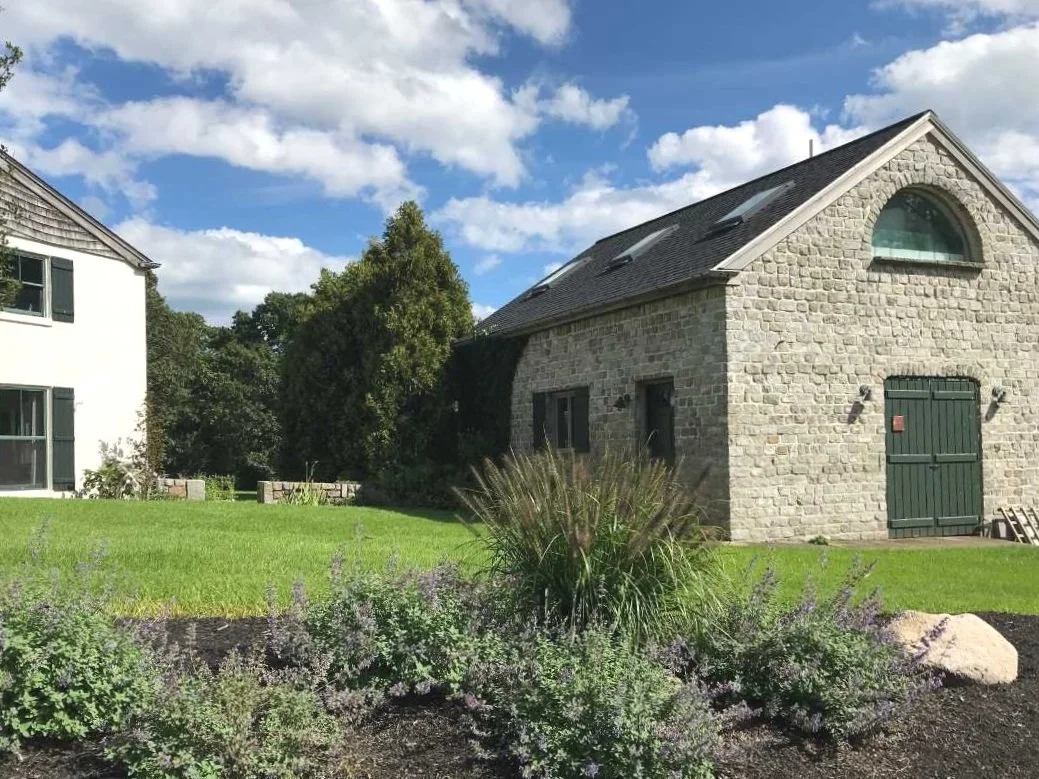
Our very un-Cape Cod-like stucco house came with this charming cobblestone cottage. However, it was not so charming inside…
The second floor was a cramped, circa-1980s bedroom that featured wall-to-wall carpeting and a nook for an old-style CRT television set wired for cable TV.


Defining What We Wanted
We didn't really know how we wanted to use the space-- the two buildings seemed like a lot for us to inhabit coming from city-living! But we knew we wanted the carpeting out and the bathroom renovated. So, while the contractors were in there, it was an opportunity to make it into a space we would really be excited about. However, there was a lot of work needed across the property, so we needed do something economically. And, should we make it a home office? A master bedroom? A guest suite? An art studio? A place to do yoga, watch TV, read? We didn't know. So we set out to make this a space flexible enough for all of those activities. What we did know was that we wanted a restful space-- it was a place we were going to get away, after all. So, "Zen" was our aspiration.
Finding Inspiration


I came across an article in Dwell Magazine that came to be our inspiration. It was a renovation of a Portland guest house with a similar space under the eaves (so had the same challenge of the sloping ceilings.) But what I really loved was how the space could be converted from living/dining to sleeping through the clever built ins. I love to see good use of space. It’s not just about maximizing the use of every square foot though. It’s about finding an elegant and effortless way to account for all the ways you want to use the space without filling it up with stuff or carving it up into niches for each activity. You want spaces that feel right for your lifestyle, where you can find peace-of-mind, so that your environment contributes positively to your well-being. So these were also our goals for our new space.

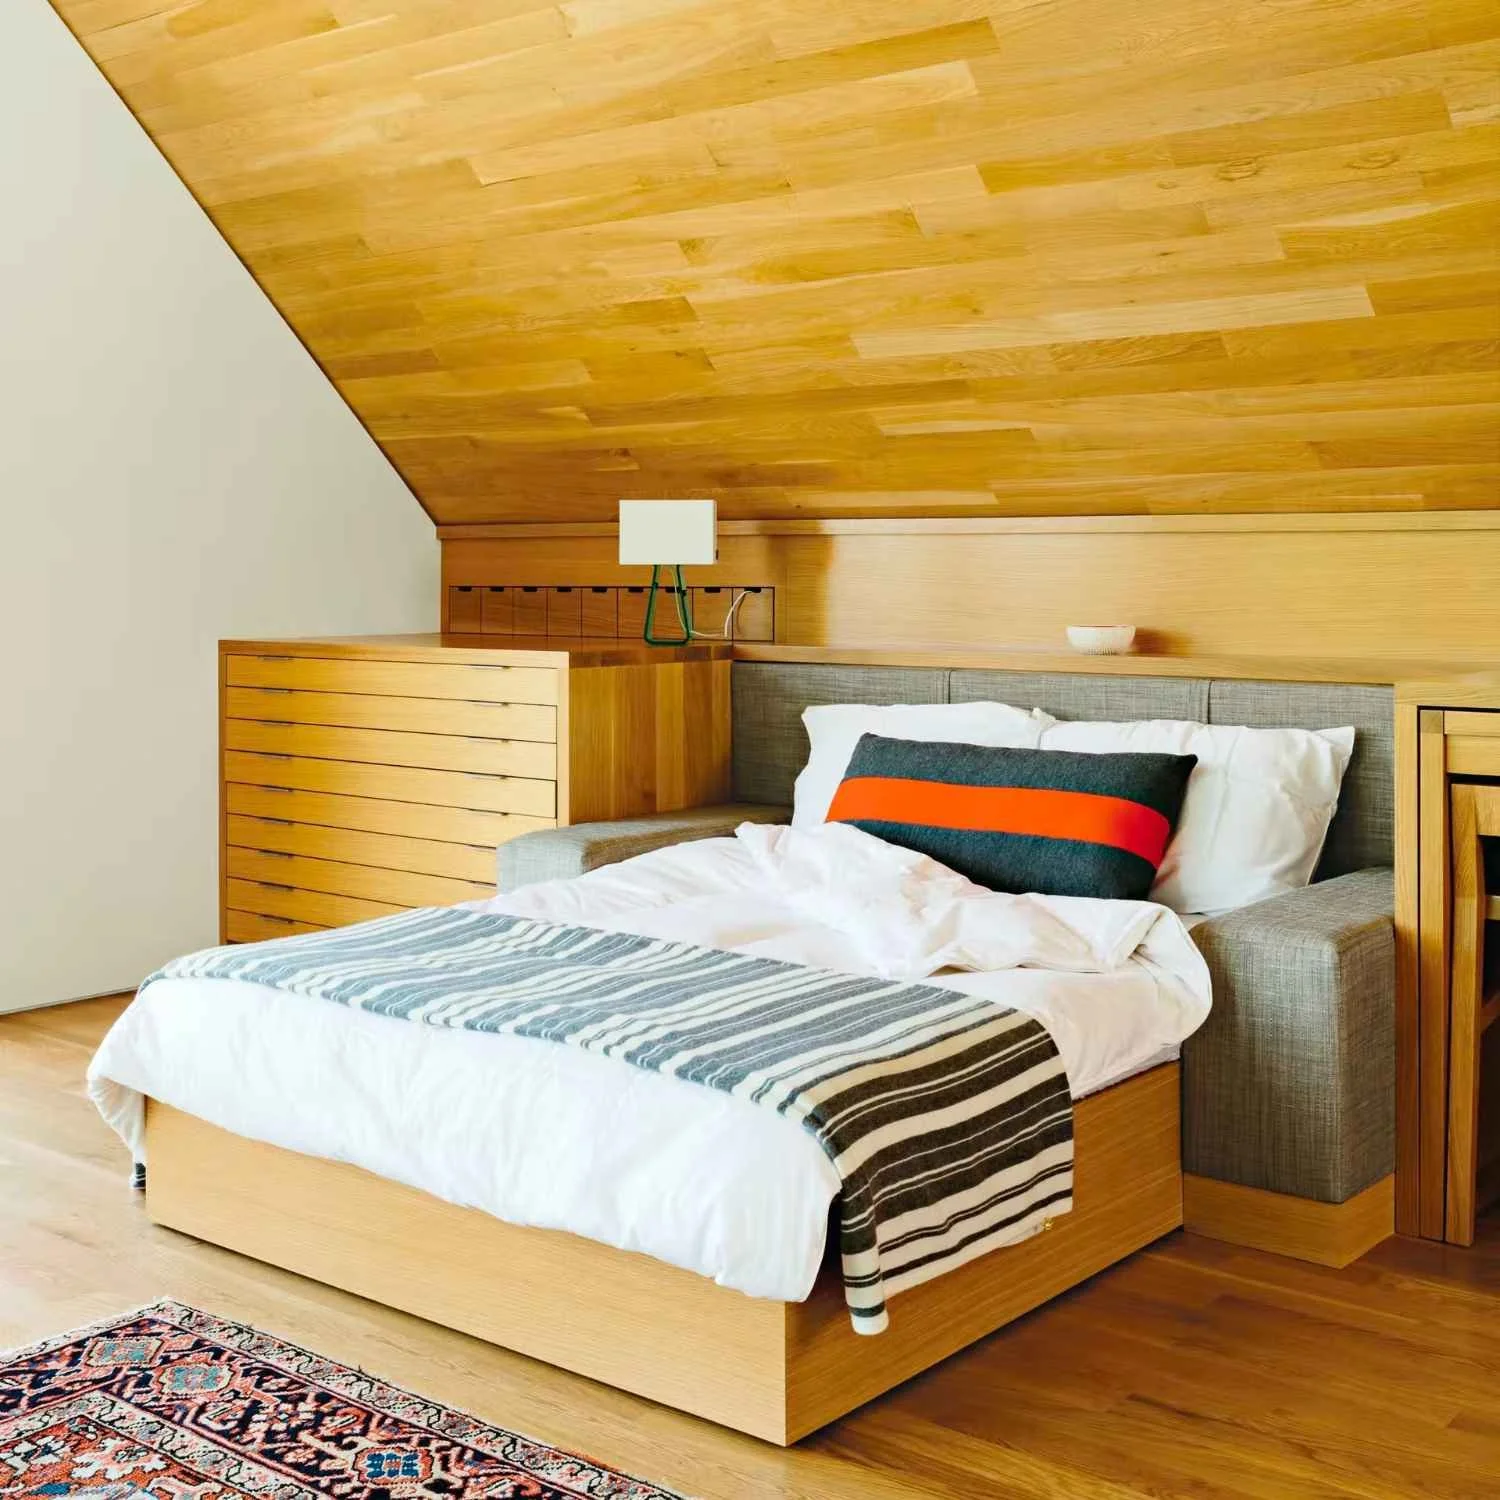
I'm not usually a fan of the floor-to-floor, wall-to-wall woodwork of this guest house. It can be homogenous, matchy-matchy and too much of a commitment to one look-- especially for someone who loves changing it up. Also, I've had a couple of run-ins with honey-colored woods! Natural stained oaks and maples can age towards orange-- which is difficult to work with when you tend towards cool-toned palettes.
However, I think the way it was done here, the wood wraps all around you, giving a quiet, calming experience. Your eye reads floor to ceiling as one continuous surface, rather than breaking the floor, walls and ceiling into separate planes-- which can be visually noisy, especially in a small room with relatively low ceilings. And I think the gleaming wood also really elevates the feel of the space. However, all that custom woodwork would require a speciality contractor and a lot of detailed drawings and specs and I didn't have the time or money for that. So I went shopping for off-the-shelf solutions.
Shopping for the Style
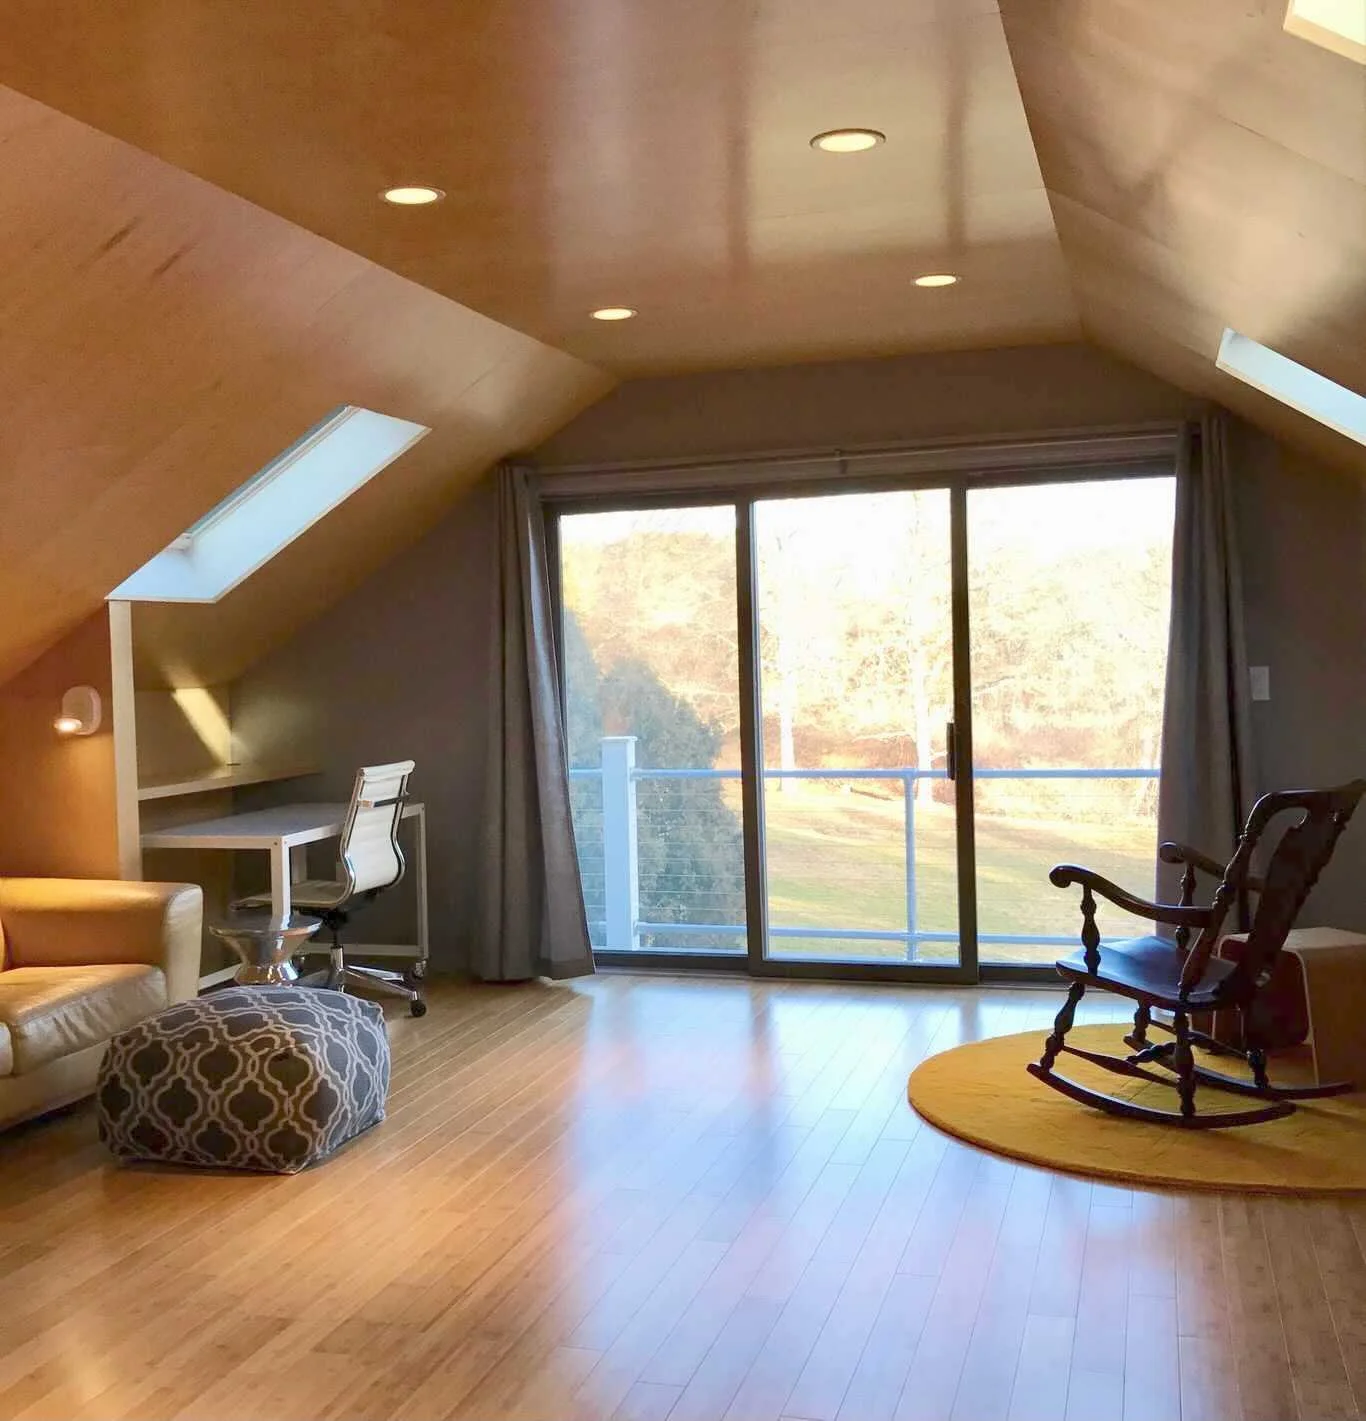
For the wrapping of the walls and ceiling, after looking at un-finished and pre-finished flooring and concluding that there was some risk and potential delay to find someone willing to do this type of installation (and potentially unexpected expense) I decided to use pre-finished birch plywood. Cabinet makers use this for the inside of cabinets and it is, well, pre-finished, saving a lot of time and money (and reducing the risk of getting an uneven stain or finish on wood that has already been installed.) And, of course, it comes in 4’ x 8’ sheets so was going to be much less expensive for the material and installation. I had really been wanting bamboo floors, and the birch plywood was a decent match to a pre-finished natural bamboo flooring I had picked out from Home Depot.


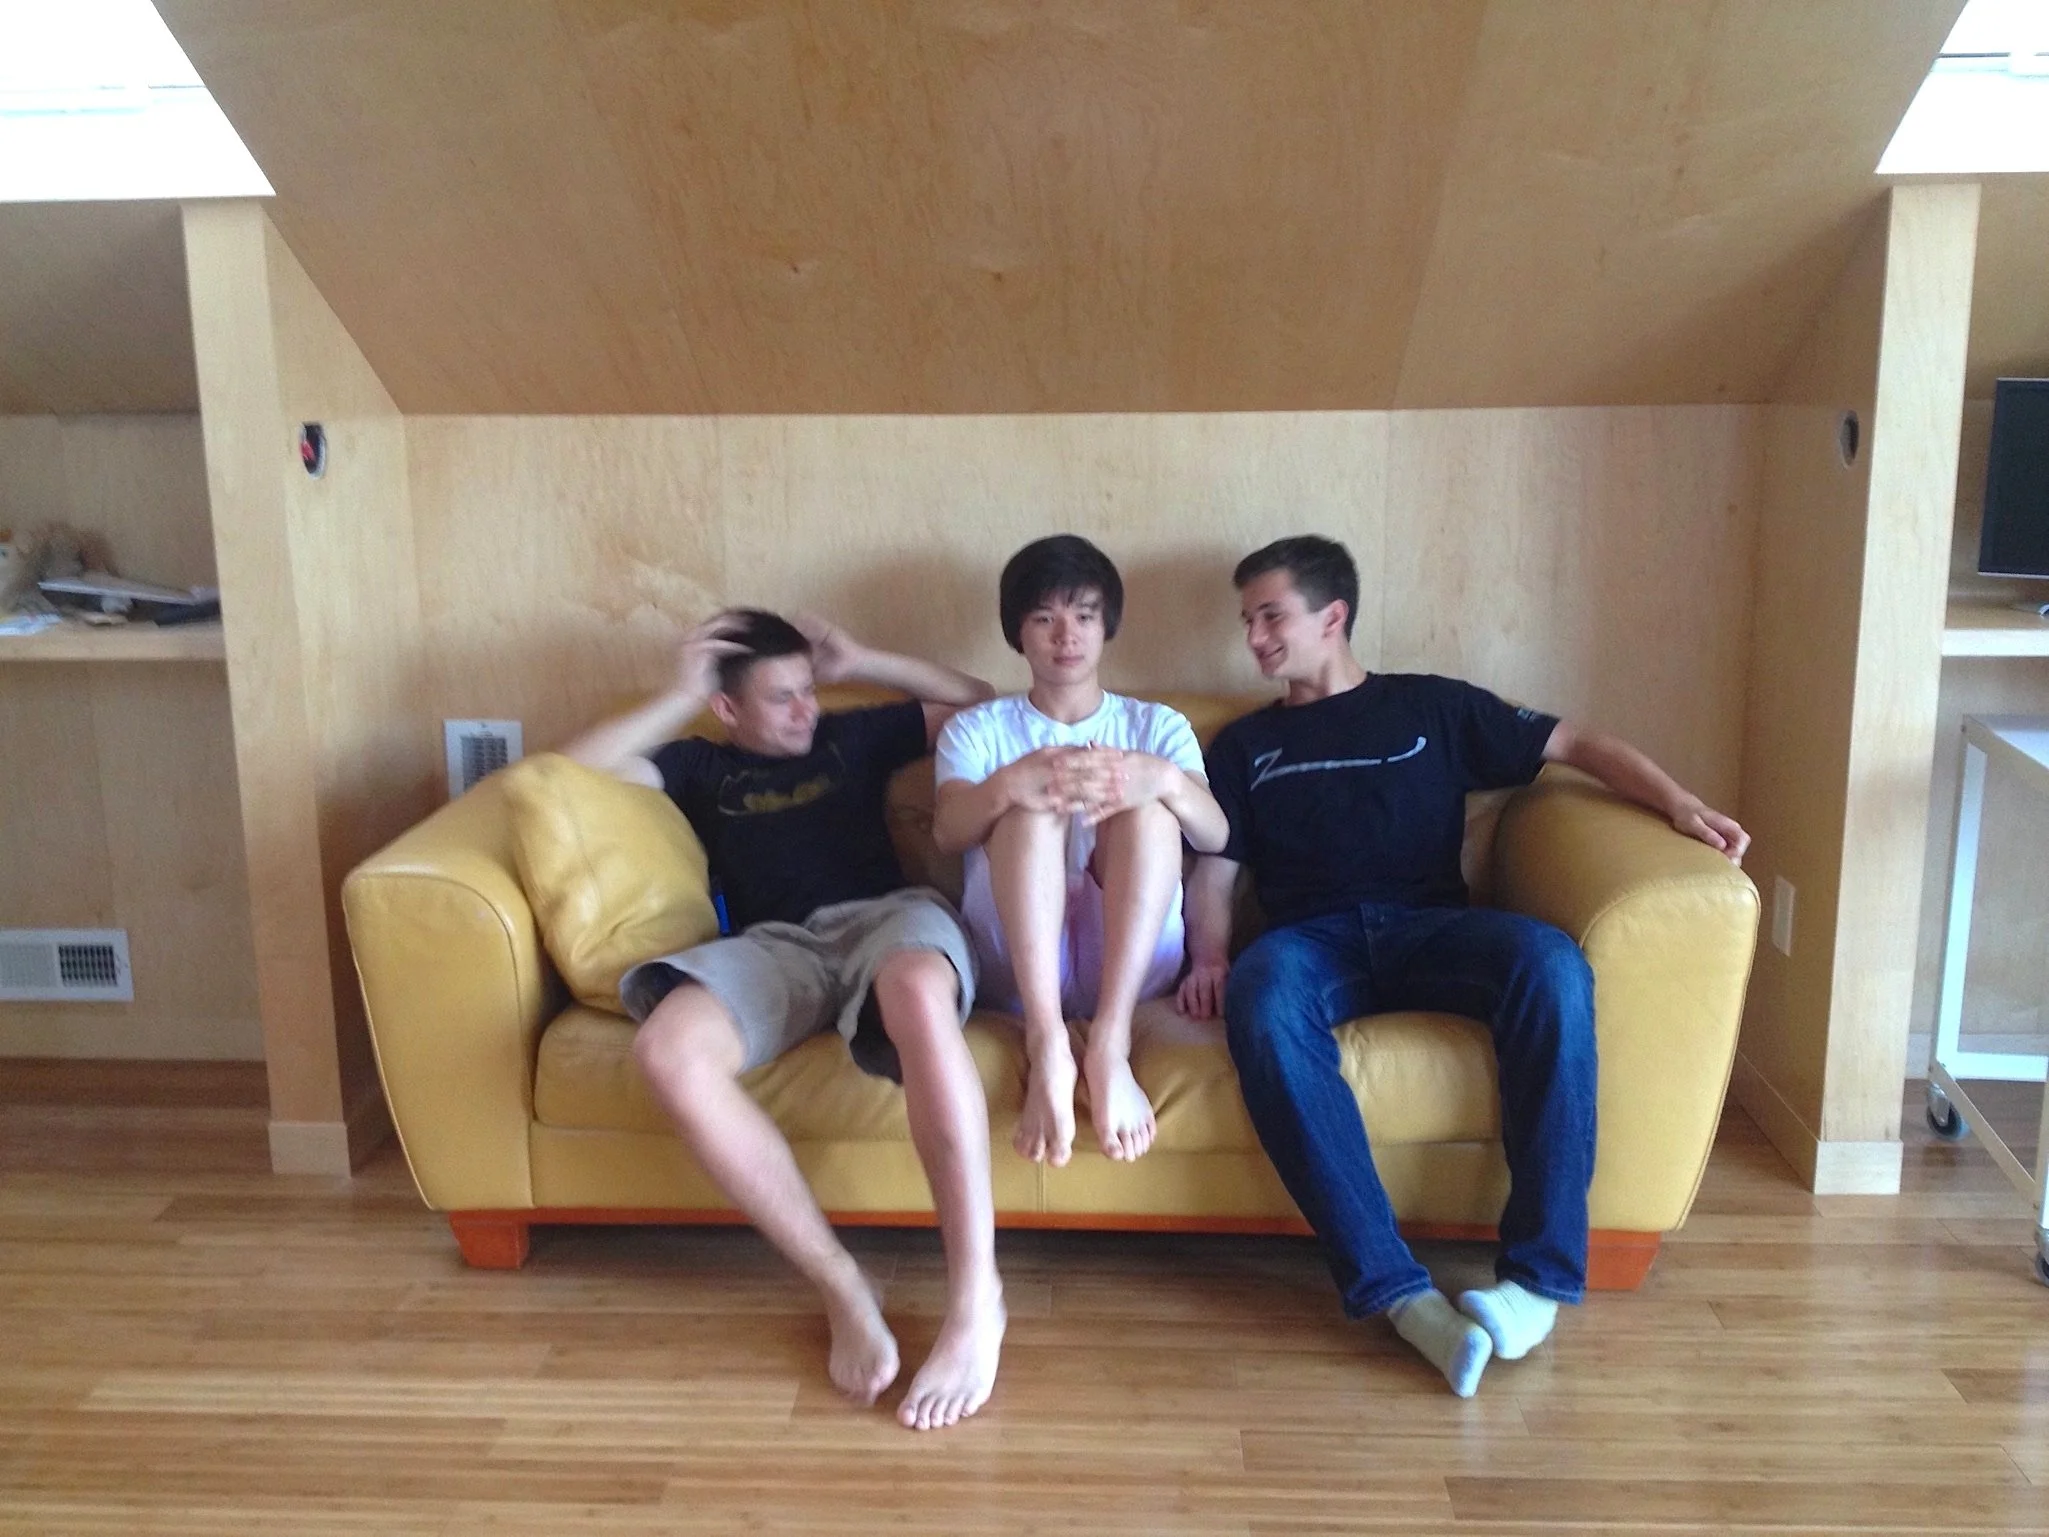
Then, I loved the flexibility of the pull out table on wheels from the inspiration home. After I found these inexpensive Go Cart desks from CB2 [link], I realized I could push the existing side wall (under the skylights) back and create more floor area for a sofa (where you don’t need normal head-height since you are sitting.) Then the niches on either side were sized to fit the rolling tables and extra tabletops were installed for them to store under. I had this leather sofa from a previous house but didn't like the yellow anymore. Turns out the color blends pretty well into the walls, turning it from a statement piece to a practical item that recedes into the background, preserving that calm, zen feel.
Thanks to Milo and friends for getting the sofa up this spiral staircase. I don't know how they did it!

Pushing back the knee walls also 'centered' the space better on the glass doors. If we hadn't take back those 2 feet or so, the sofa and desks would have sat that much more towards the middle. So if you stood between the the sofa and opposite wall, you would not be in the center of the room and would be looking out the right side of the sliding glass doors, which puts you kinda off-kilter and it's not very zen!
I also wanted to be able to accommodate guests but wanted the bed to be able to hide away, like in the Portland studio. I used the space where the TV used to be and carved out a niche the size of a twin bed and made the remaining space to the right and left additional hidden storage. I was thinking I would be able to find some kind of trundle bed that would fit, but for years, the best option I could find online was a metal frame system--the sort of inelegant mechanism that you imagine produces pinched fingers and a poor nights sleep. But thank you IKEA for UTÅKER stackable twin beds. These attach with straps to form a king bed if a couple is visiting, and sliding panels cover the niche and hide the beds from sight when not in use.


Finishing Touches
The end walls are painted a medium grey with a touch of purple. Once the woodwork was in place, I thought the white end walls needed a little something to set off the plain birch and make its color, which can seem dull and washed out, feel richer. I also wanted a color that would feel restful and thought a darker shade would help the end walls to recede (rather than pop forward.) I wanted the wood ceiling and walls to feel more like a tunnel, making the space feel longer, deeper. I must have tried a half dozen paint samples, some too purple or too cold, but I am really happy with the result.

One last touch was the barn door, which closes the room off from the stairway (so other people could use the only other full bath on the property even if someone was staying in the new studio.) We love to doodle ideas on whiteboards and the door was an obvious candidate for a writable surface. I didn't want to introduce a new color or material to the palette so found a clear whiteboard film to apply to the door. Although it looked easy in the video, it was a *#%*!& to apply, so I can't recommend it (although I see the company no longer sells it-- I wonder why...) I remember I told my husband I needed his help for 20 minutes and it took us 2 ½ hours-- with some very tense moments in between! If you are looking for a modern (i.e. not rustic) low profile barn door hardware option though, I can recommend this one.
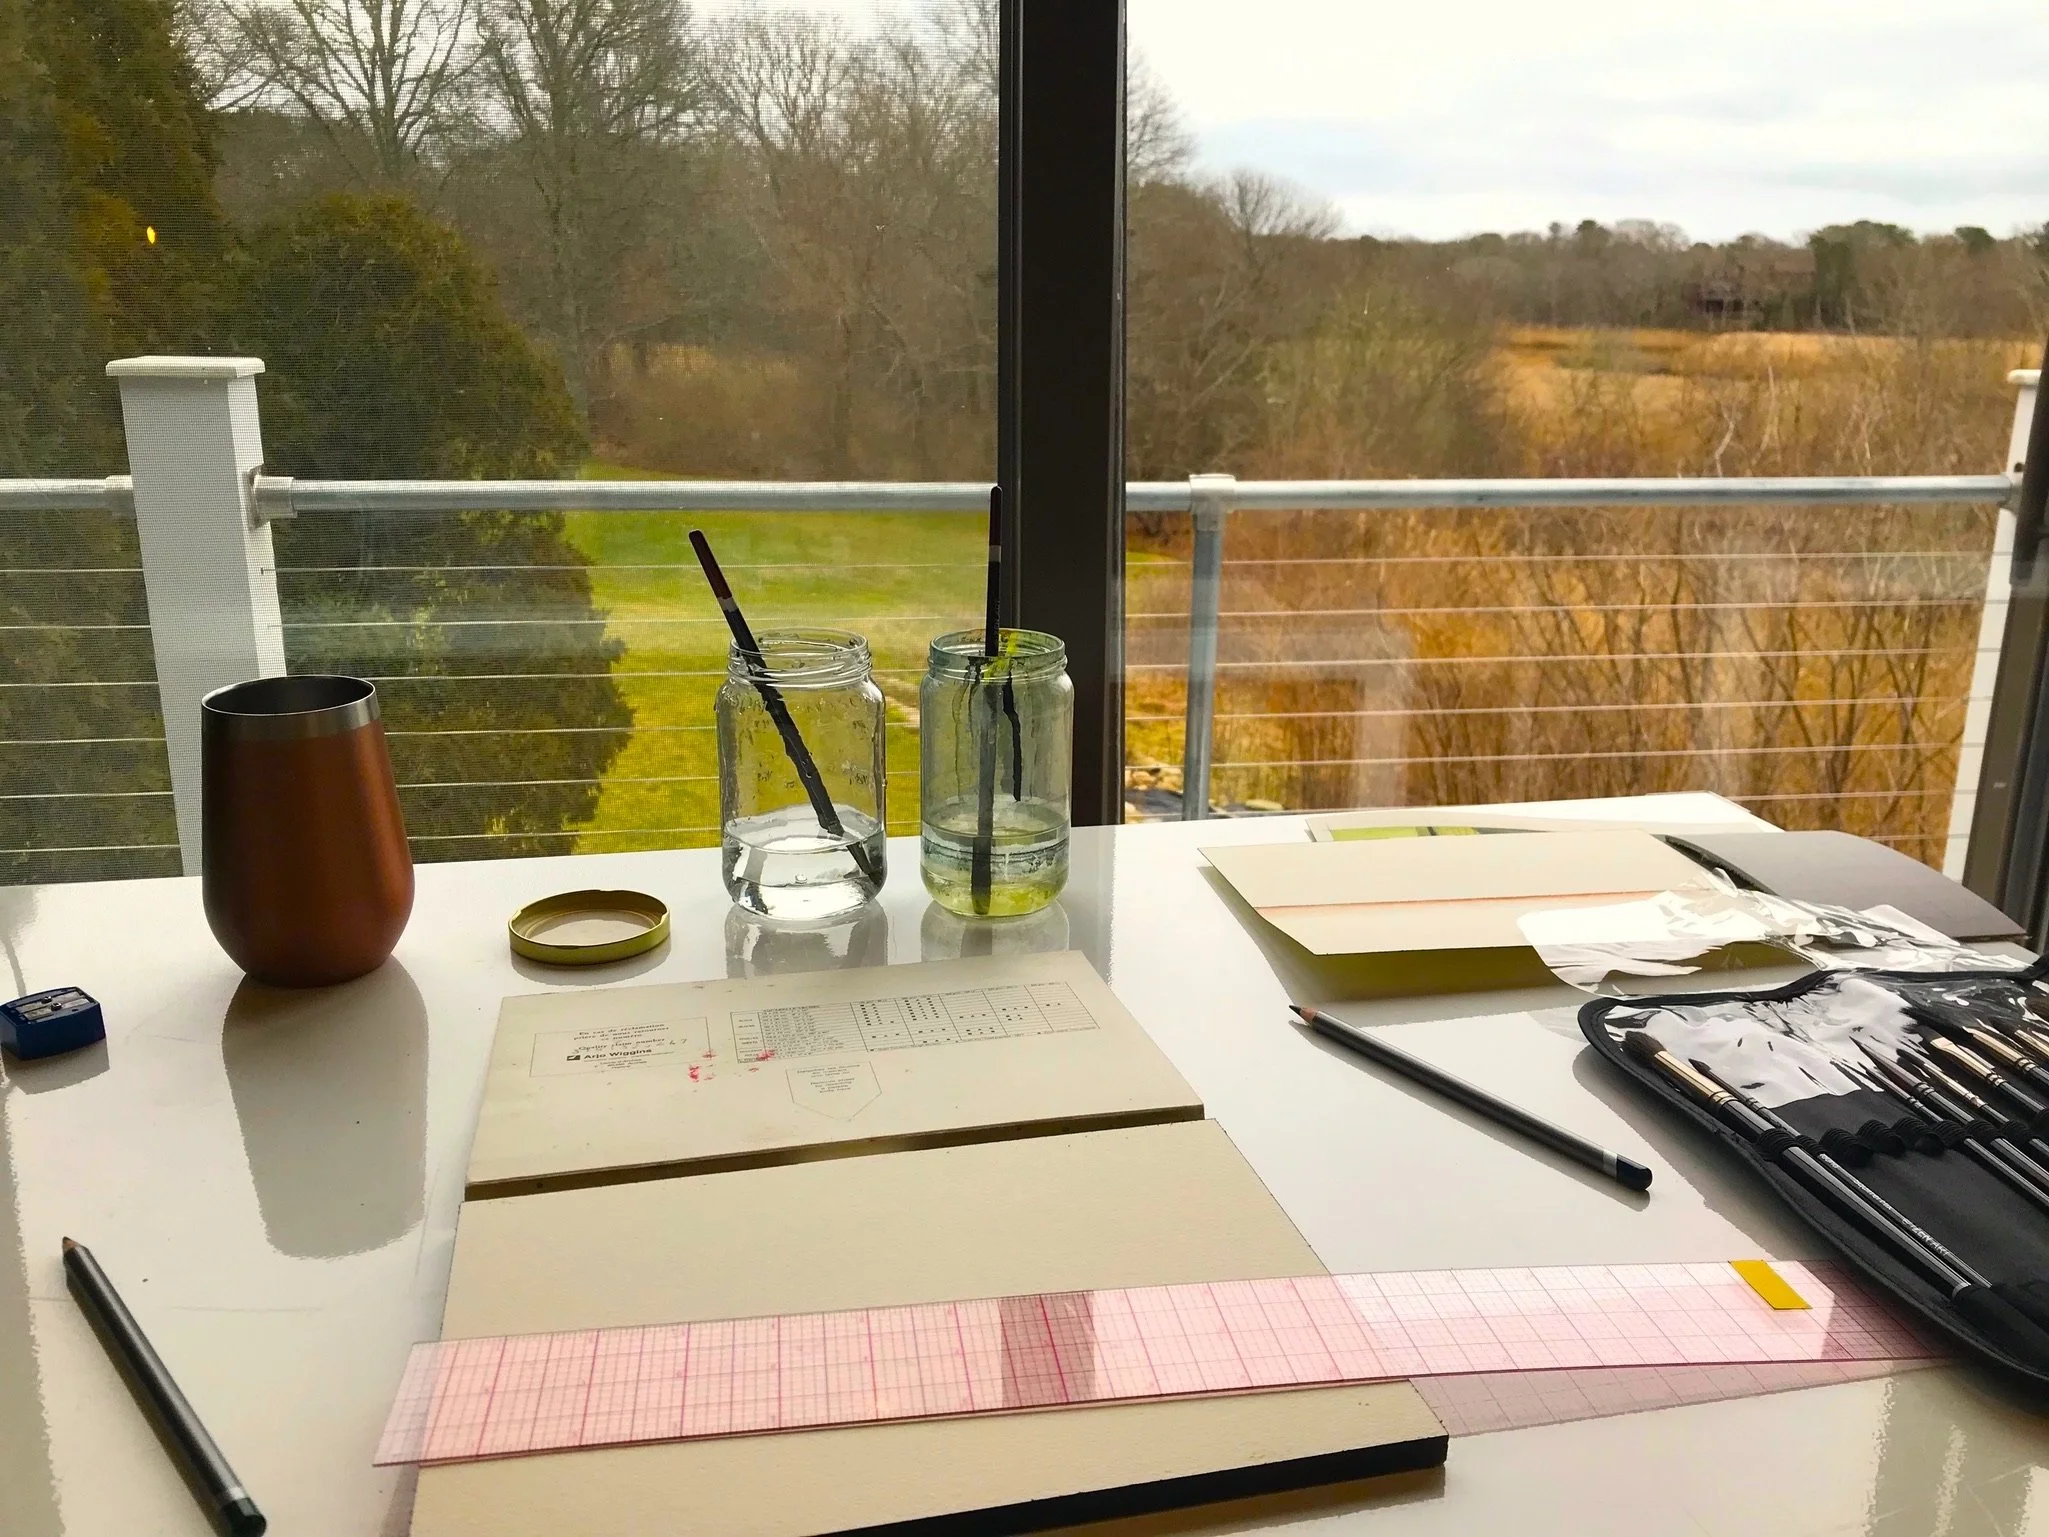
It's made for a great guest space, work space --and painting studio!